
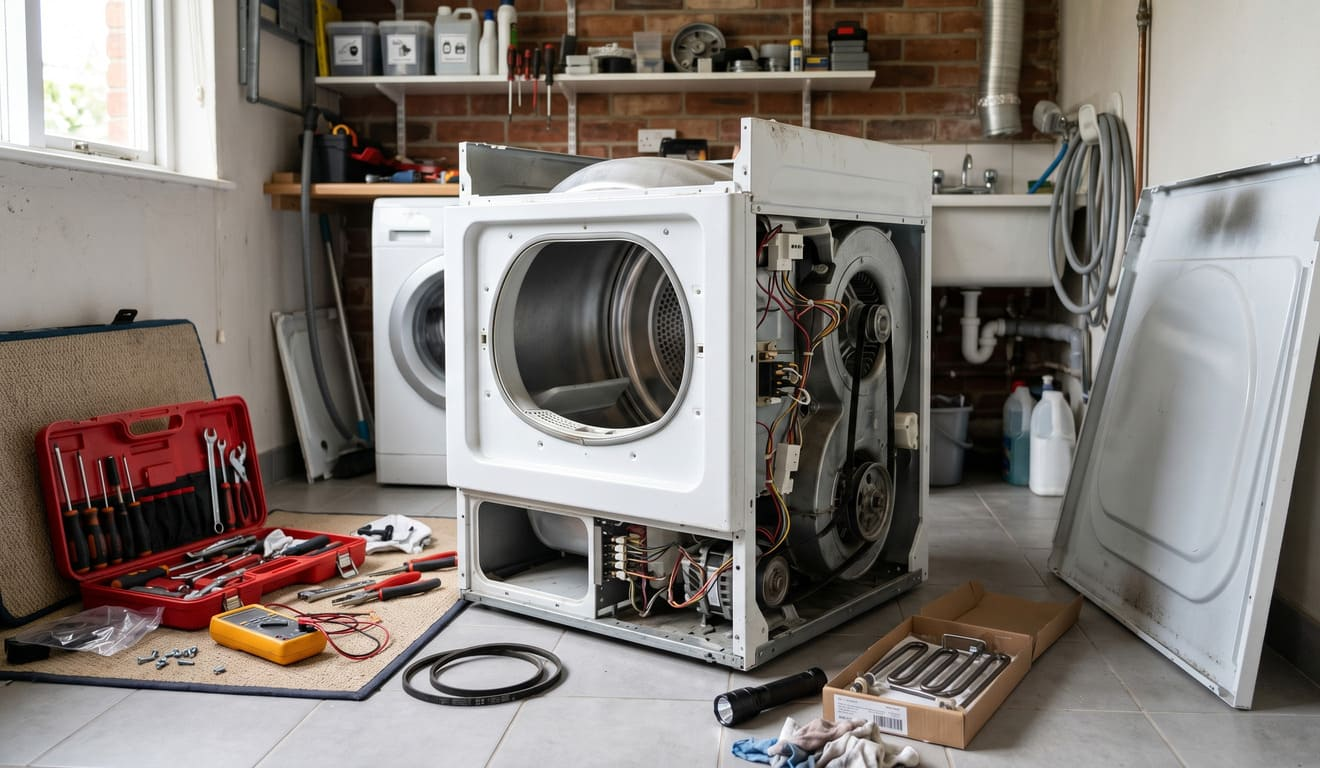
The rhythmic, comforting hum of a clothes dryer is the soundtrack to a smoothly running household. We rely heavily on this modern convenience to turn heavy, damp laundry into warm, ready-to-wear clothing in a matter of minutes. However, when that familiar hum turns into a harsh grinding noise, or the cycle finishes to reveal a pile of soggy clothes, panic often sets in.
The prospect of hauling wet laundry to a laundromat is dreadful. For residents in the Pacific Northwest, your first instinct might be to immediately book professional APPLIANCE REPAIR IN SEATTLE or reach out to trusted Bellevue Appliance Repair Services. While professional help is invaluable, buying a brand-new machine or paying for a service call for a minor issue can be a blow to your budget.
Fortunately, most dryer malfunctions are surprisingly straightforward to diagnose and resolve. A dryer operates on three very simple principles: heat, airflow, and rotation. When one of these elements fails, the machine stops doing its job. By understanding the inner workings of your dryer, you can often pinpoint the exact component that has failed and replace it yourself.
Safety Warning: Always disconnect the dryer from its power source before attempting any repairs. If you have a gas dryer, ensure the gas supply valve is firmly shut off before opening the cabinet.
1. The Dryer Won’t Start
Pressing the “Start” button and getting absolutely no response is frustrating, but it usually points to an electrical disconnect or a failed safety switch.
- The Door Switch: Dryers are equipped with a safety mechanism that prevents the drum from spinning while the door is open. Over time, the plastic peg on the door can break, or the internal switch itself can fail due to repeated slamming. You can test the door switch using a multimeter set to the continuity setting. If the switch does not show continuity when pressed, it must be replaced.
- The Thermal Fuse: This is perhaps the most common culprit for a dead dryer. The thermal fuse is a safety device designed to blow and cut off power if the dryer overheats, preventing a potential house fire. Once a thermal fuse blows, it cannot be reset; it must be completely replaced. If you find a blown thermal fuse, it is absolutely critical that you also clean your exhaust vent.
- The Push-to-Start Switch: If you hear a faint humming sound or a click when you press the button, but the machine doesn’t engage, the start switch itself might be faulty.
2. The Dryer Runs But Produces No Heat
A dryer that spins but blows cold air leaves you with wet clothes and wasted electricity. The solution depends heavily on whether you own an electric or a gas dryer.
- Electric Dryers: Electric models rely on a heating element—a coil of nichrome wire that glows red hot when electricity passes through it. Inspecting the heating element visually will often reveal a broken coil. If the element is intact, the issue might lie with the high-limit thermostat or the cycling thermostat.
- Gas Dryers: Gas models use an igniter to light the gas flowing through the burner valve. The most common point of failure here is the gas valve solenoid coils. If the igniter glows brightly but no flame is produced, the coils are likely too weak to open the gas valve.
3. The Dryer Makes Squeaking, Grinding, or Thumping Noises
A noisy dryer is essentially crying out for basic mechanical maintenance. Since the drum constantly rotates under heavy loads, the parts supporting it wear down over time. Reliable, heavy-duty brands—like those that are built to last but may eventually require targeted Maytag Repair—still face standard wear and tear on these moving components.
- Drum Rollers: Most dryers have small rubber or polyurethane wheels supporting the drum. When these rollers wear flat, the dryer will produce a rhythmic thumping or loud rumbling noise. Replace all rollers at the same time.
- Drum Glides (or Slides): These are small Teflon or nylon pads located at the front of the drum. When they wear down to the metal, you will hear a sharp, metallic scraping sound.
- The Drive Belt and Idler Pulley: If the belt begins to fray, it can thump against the cabinet. If the idler pulley’s bearing dries out, it will produce a high-pitched, deafening squeal.
4. Clothes Take Multiple Cycles to Dry
If your dryer runs and heats up, but clothes are still damp after a 60-minute cycle, the machine is suffocating. Airflow is just as critical as heat.
- Clogged Lint Screen and Vent: Over time, lint bypasses the screen and builds up in the flexible hose behind the dryer and the rigid pipes leading outside. Disconnect the vent and clean it thoroughly using a long, flexible vent brush.
- Moisture Sensor Bars: High-efficiency and advanced units, such as those that occasionally necessitate specialized Fisher & Paykel Repair, rely on highly sensitive metal bars inside the drum. If these bars become coated in residue from dryer sheets, the dryer will think the clothes are dry and shut off prematurely. Wiping these bars with rubbing alcohol can instantly fix the problem.
The Connection Between Your Washer and Dryer
Sometimes, the problem isn’t your dryer at all. If your clothes are coming out of the wash completely soaked, your dryer will inevitably struggle to dry them. You might actually need to fix washing machine components like a clogged drain pump, a worn motor coupling, or a stretched drive belt. Addressing the washing unit first ensures your dryer doesn’t overwork itself into an early grave.
Protecting Your High-End Appliance Ecosystem
While basic dryer maintenance is highly DIY-friendly, luxury homes with premium appliance suites often require a different approach. If your laundry room is part of a broader, high-end household ecosystem, specialized care is vital. Just as you wouldn’t trust a novice with complex refrigeration issues requiring Sub Zero and Wolf Repair, or risk damaging your premium kitchen setup when you need Bertazzoni Repair or JennAir Repair, complex or smart-enabled laundry centers demand certified technicians to protect your investment. Knowing when to step back and call a professional is the ultimate preventative maintenance.
Quick Troubleshooting Reference Guide
| Symptom | Most Likely Cause | DIY Difficulty | Estimated Part Cost |
| Won’t Start | Blown thermal fuse or broken door switch | Beginner | $10 – $25 |
| No Heat (Electric) | Broken heating element or faulty thermostat | Intermediate | $30 – $60 |
| No Heat (Gas) | Faulty gas valve solenoid coils or bad igniter | Intermediate | $15 – $40 |
| Squeaking/Rumbling | Worn drum rollers or dry idler pulley | Intermediate | $20 – $50 |
| Scraping Metal Noise | Worn out drum glides/slides | Beginner | $10 – $20 |
| Takes Too Long | Clogged exhaust vent or dirty moisture sensors | Beginner | $0 – $20 |
| Drum Won’t Spin | Broken drive belt | Intermediate | $15 – $30 |
Preventive Maintenance Tips
The best repair is the one you never have to make. To keep your dryer running efficiently for a decade or more, follow these rules:
- Clean the lint trap before absolutely every single load.
- Vacuum the interior cabinet once a year, as lint naturally accumulates around the motor and heating element.
- Deep clean the external exhaust vent ductwork annually to prevent fire hazards and ensure proper airflow.
- Never overload the dryer. Clothes need room to tumble freely; packing the drum too tightly strains the motor, the belt, and the drum rollers.
Frequently Asked Questions (FAQ)
1. How do I know if my dryer heating element is bad?
The most definitive way to test a heating element is by using a multimeter. After unplugging the dryer, touch the multimeter probes to the terminals; if there is no continuity, the element is broken. You can also visually inspect the coils for breaks or severe scorching.
2. Is it worth repairing a dryer that is over 10 years old?
It depends on the necessary repair. If the repair costs less than $150 (like belts, rollers, or fuses) and the rest of the machine is in good condition, repairing a 10-year-old dryer is highly cost-effective. If the main motor or the electronic control board fails, replacement is usually a wiser choice.
3. Why does my dryer smell like something is burning?
A burning smell is a serious warning sign. Most commonly, it is caused by an excessive buildup of lint making contact with the heating element. It can also be caused by a failing drive belt slipping on the motor pulley. Stop using the dryer immediately, unplug it, and inspect the interior.
4. Can I replace a dryer belt myself?
Yes, replacing a dryer belt is a manageable DIY project. It involves removing the top and front panels, reaching under the drum to release tension on the idler pulley, and threading the new belt around the drum and motor. There are countless video tutorials available online to guide you.
5. How often should dryer vents be professionally cleaned?
Your dryer vent system should be thoroughly cleaned at least once a year. If you have a large family, pets that shed heavily, or a long vent hose path, consider cleaning it every six months. If clothes suddenly take longer to dry, clean the vent immediately