
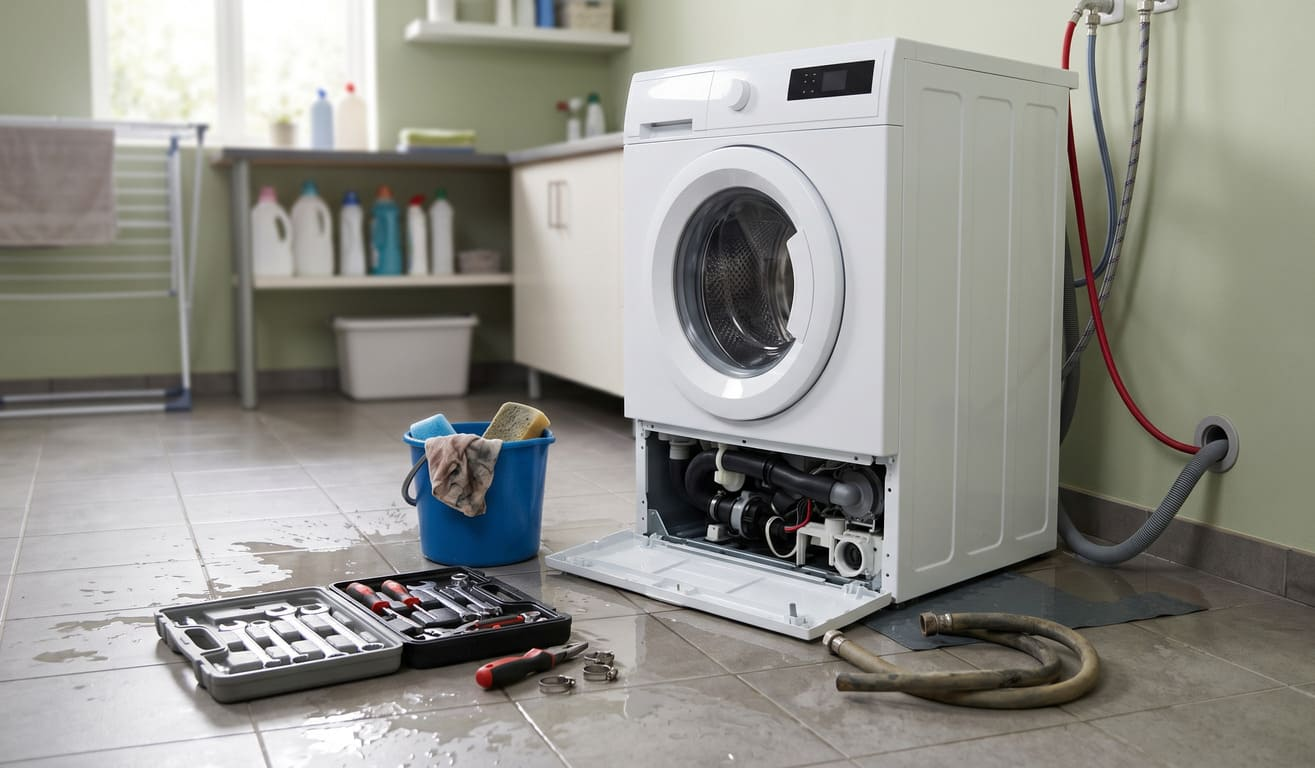
Discovering a puddle of water in your laundry room is a quick way to ruin your day. A leaking washing machine not only disrupts your household routine but can also cause extensive water damage to your floors, drywall, and surrounding cabinetry if left unaddressed. Fortunately, you do not always need to rush into an expensive service call right away. With a bit of patience, some basic hand tools, and a methodical troubleshooting approach, you can often pinpoint the problem and fix washing machine leaks on your own.
This comprehensive step-by-step guide will walk you through the most common causes of water leaks, how to correctly diagnose them, and the steps required for a successful washing machine repair. Whether you are dealing with a traditional top-loading unit or a modern front-loader, understanding the basic mechanics of your appliance is the first vital step toward effective and safe washer repair.
Safety First: Preparation and Precautions
Before you attempt any washer machine repair, safety must be your absolute priority. Water and electricity are a highly dangerous combination, and taking shortcuts can lead to serious injury or further damage to the appliance.
- Unplug the machine entirely from the electrical wall outlet before touching any internal components.
- Turn off the hot and cold water supply valves, which are typically located on the wall directly behind the machine.
- Have a mop, a large bucket, and several old towels ready to clean up residual water and prevent slipping hazards.
- Pull the appliance away from the wall carefully to give yourself ample room to work and inspect the back panel.
Step 1: Pinpoint the Source of the Leak
The most crucial part of any appliance repair is an accurate diagnosis. Fixing the wrong part will cost you time and money while leaving the actual problem unresolved. To find the source, thoroughly dry the machine and the floor around it. Run a short, basic cycle while watching the machine closely with a flashlight to see exactly where the water first appears.
- Leaks at the front usually indicate issues with the door seal, the door catch, or the detergent dispenser drawer.
- Leaks at the back are almost always related to the hot and cold water supply hoses or the main drain hose.
- Leaks originating from underneath the machine point to internal components like the water drain pump, the tub seal, or internal rubber hoses.
Step 2: Inspecting the Water Hoses (Back Leaks)
If the water is pooling at the back of the laundry unit, the external hoses are the most likely culprits. Over time, rubber hoses can become brittle, crack, or lose their tight seal due to constant water pressure and temperature fluctuations.
- Check the connections at the wall valves and where the hoses attach to the back of the appliance.
- Look for rust, moisture, or calcium buildup around the metal connections, which indicates a slow, ongoing leak.
- Tighten any loose connections using adjustable pliers, but be careful not to overtighten and strip the plastic threads.
- If the internal rubber washers inside the hose fittings are flattened or worn out, replace them immediately.
- Inspect the entire length of the corrugated drain hose for pinhole leaks or friction rub marks. If damaged, replacing the drain hose is a straightforward and inexpensive task.
Step 3: Checking the Drain Pump (Bottom Leaks)
The drain pump is responsible for expelling dirty water from the tub out through the drain hose and into your home’s plumbing system. If your machine leaks heavily during the spin and drain cycle, the pump is a prime suspect.
- Access the drain pump by removing the front, rear, or side panel of the cabinet, depending on your specific model.
- Inspect the hard plastic pump casing for visible cracks, melted spots, or physical damage caused by foreign objects like coins or bobby pins.
- Check the metal spring clamps connecting the internal black rubber hoses to the pump. Loose or rusted clamps can allow water to seep out under pressure.
- If the pump itself is cracked or its internal shaft seals have failed, you will need to purchase a replacement part specific to your model and install it.
Step 4: Examining the Door Boot Seal (Front Leaks)
For those with front-loading machines, the thick rubber gasket (also known as a boot seal) around the door opening is a frequent source of trouble. It is subjected to constant friction from clothing and can easily accumulate debris or get torn by sharp objects left in pockets.
- Open the door widely and carefully run your hand around the entire inner perimeter of the rubber seal.
- Look for small tears, punctures, or areas where the rubber has rotted or degraded due to mildew buildup.
- Check the inner fold of the gasket for trapped coins, keys, or heavy dirt buildup that might be preventing the glass door from seating properly against the rubber.
- If the gasket is physically damaged, it must be completely replaced. This involves removing the outer retaining wire and stretching a new gasket onto the lip of the tub.
Step 5: The Water Inlet Valve
The water inlet valve electronically controls the flow of hot and cold water into the machine based on the cycle settings. If this plastic valve body cracks or becomes jammed with hard water mineral deposits, it can cause steady leaks.
- The valve assembly is located at the top rear of the machine, right where the external fill hoses attach.
- Remove the top or back access panel to get a clear, unobstructed view of the valve assembly and its electrical solenoids.
- Look for active drips coming from the body of the valve or the internal distribution hoses leading from the valve down to the detergent dispenser or tub.
- A faulty or cracked water inlet valve cannot be patched; the entire component must be replaced to ensure safety.
Step 6: Address Oversudsing Issues
Sometimes, what appears to be a mechanical failure requiring complex intervention is actually user error. Using standard laundry detergent in a high-efficiency (HE) machine, or simply using far too much HE detergent, creates massive amounts of excessive suds. These thick suds can expand, overflow the internal tub, and leak out through the rear air vents or out the front detergent dispenser drawer. To resolve this, run a long, hot cleaning cycle with white vinegar to clear out leftover detergent residue, and always measure your detergent carefully moving forward.
Brand-Specific Considerations
Different households rely on a variety of appliance brands, and recognizing your machine’s specific engineering can help streamline the troubleshooting process. For instance, compact European models may occasionally necessitate specialized Bosch Repair due to their tight-fitting internal configurations and sensitive drain assemblies. On the other hand, if you are experiencing electronic valve or sensor issues with a high-capacity unit, seeking dedicated Samsung Repair is often the most efficient route.
If your laundry room is part of a larger premium home ecosystem, you might already be familiar with the high standards required for maintaining luxury units. Just as you would trust specialized technicians for GE Monogram Repair, KitchenAid Repair, or Viking Repair in your kitchen, applying that same standard of professional care to your washing machine guarantees longevity and peak performance.
Quick Troubleshooting Guide
| Leak Location | Most Likely Cause | Required Action | Difficulty Level |
| Front of Machine | Damaged door seal / gasket | Clean thoroughly or replace the rubber boot seal | Medium |
| Back of Machine | Loose fill hoses or cracked drain hose | Tighten connections, replace rubber washers or hoses | Low |
| Bottom (During Drain) | Cracked drain pump or loose clamps | Inspect pump housing, tighten clamps, replace pump | Medium |
| Bottom (During Fill) | Defective water inlet valve | Replace the entire inlet valve assembly | Medium |
| Center Bottom | Failing main tub seal or tub bearing | Requires complete tub and cabinet disassembly | High |
When to Call a Professional
While many common leaks are highly manageable for a DIY enthusiast, some internal repairs require specialized heavy-duty tools and deep mechanical expertise. If you discover that the leak is coming from the main tub seal, a rusted drive shaft, or a cracked outer tub, the repair process involves completely dismantling the appliance piece by piece. This level of intervention is highly complex and time-consuming. In such scenarios, or if you feel uncomfortable handling internal wiring and testing electrical components with a multimeter, it is highly recommended to contact a professional for reliable appliance repair services to ensure the job is done safely and correctly.
For residents in the Pacific Northwest, finding local, specialized help is easier than ever. You can rely on Bellevue Appliance Repair Services or trust the experts at APPLIANCE REPAIR IN SEATTLE to handle everything from minor part replacements to major tub teardowns seamlessly.
Frequently Asked Questions
1. Why is my washing machine leaking from the exact center bottom?
Center bottom leaks are typically caused by a failing main tub seal or a worn-out tub bearing. When the seal degrades, water drips directly down the drive shaft onto the motor or floor. This is a major repair that usually requires completely removing the inner and outer tubs.
2. Can I use waterproof tape or sealant to fix a leaking washing machine hose?
No, using tape, silicone, or epoxy is never a permanent or safe solution for pressurized water lines. The continuous water pressure and heat will eventually push through the adhesive, leading to a much larger and more damaging flood. Always replace cracked or degraded hoses entirely.
3. How much does it typically cost to resolve a leaking washer?
If you perform the labor yourself, the cost is simply the price of the replacement part, which can range from $10 for standard hoses to $50 for a new drain pump. If you choose to hire a technician, the total cost usually ranges between $150 and $300, depending on local labor rates and the specific part required.
4. How often should I replace the rubber water fill hoses?
It is a highly recommended industry standard to replace basic rubber water fill hoses every three to five years to prevent sudden bursts and catastrophic leaks. Upgrading to stainless steel braided hoses can extend this safe lifespan significantly and provide better peace of mind.
5. Why does my front-loader leak only during the high-speed spin cycle?
Leaks that only occur during the high-speed spin cycle are often related to a loose or clogged drain pump filter, a cracked internal drain hose that flexes under heavy vibration, or excessive detergent suds being forced out through the machine’s air equalization vents